Get your hot girl nails at no cost. Doing gel nails at home has never been easier. Due to increasing salon prices for nails, this trend has increased massively in the last few years. Our step by step guide will simplify the process of creating the perfect salon gel manicure from the comfort of your home. This is a budget friendly alternative in comparison to get them professionally done in a salon. You will achieve a long-lasting effect ensuring a flawless salon result. I can personally vouch for it, this is my go to hack during winter months when I need to save for my next trips.
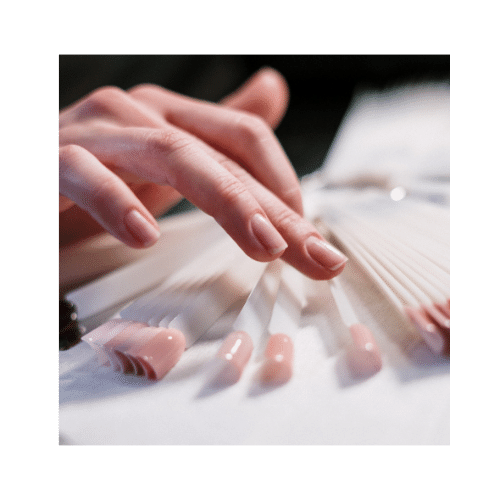
Back to basic, firstly start with your natural nails. If you have nail polish on, then remove your old polish with a nail polish remover. If you already have gel nails, see our article on how to remove gel nails at home. Next, now you will file your nails to the preferred shape. Gently file your whole natural nail thus, ensure you do not file too much. It can be painful, and you will remove too much of your natural nail. Thirdly, you will grab the buffer and smooth over the nail surface removing any ridges. Once this is done, wash your hands to remove debris and oils. Optionally you can use isopropyl alcohol on your nail surface buy it here.
Step 3: push back your cuticles
Use the cuticle pusher, and gently push back your cuticles. This will ensure that the gel don’t get stuck on your cuticles. Pro Tip: its easier to remove the cuticle if you damp your hands in warm water to soften the skin on your cuticles. Use the cuticle trimmer to remove the cuticles to create a clean nail bed. Buy cuticle pusher and cuticle trimmer here.
step 4: Apply basecoat
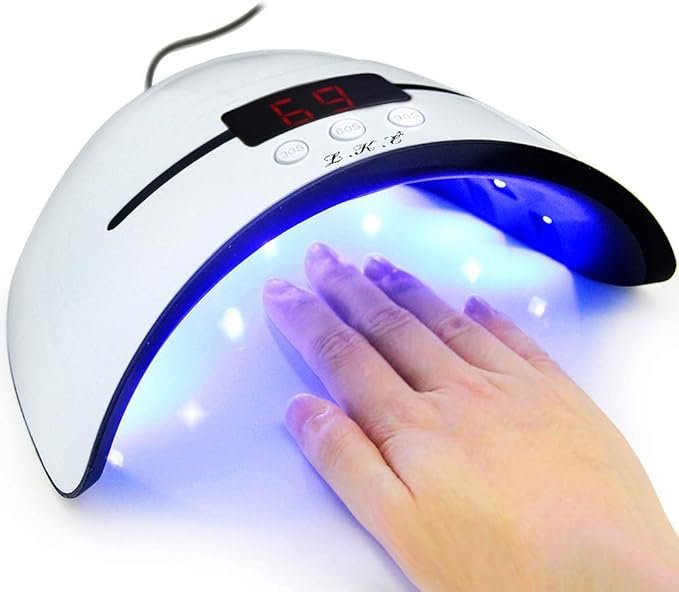
Apply a desired layer of basecoat and ensure that it covers the entire surface but be careful not to apply it directly to your skin or cuticles. Once the base coat is applied, place your nails under the UV or LED lamp for the recommended curing time specified by the gel polish manufacturer.
step 5: apply the desired gel colour
Just like the basecoat, apply a thin layer of the gel colour of your choice to your nails. Be vary of applying an even layer on your nails and avoid contact with your skin and cuticles. Cure your nails under the UV or LED lamp for the recommended time.
step 6: add a section on third layer if desired
Apply as many layers as you want to achieve the thickness and the colour you want. Normally the average person applies 1-2 layers. Repeat the process of curing the nails under the UV or LED lamp.
step 7: apply top coat
The last step of applying gel is using the topcoat. Again apply a thin layer of the gel top coat and cure it under the lamp. Futhermore, follow the last step to achieve the end result of salon gel nails from home.
step 8: cleanse your nails
After the topcoat has been cured use the isopropyl alcohol or a gel cleanser on a cotton pad or a lint-free wipes on each nail. This will ensure that any sticky residue will be removed and your nails will have a beautiful glossy finish.
Now you can enjoy your new salon styled gel nails from home. With a bit of practice this step by step guide will feel almost effortless. This is my favourite money saving hack. Happy nailing!